
Body Image: How to get the Body of a Cartoon Character

Dressing up and feeling good are important factors for the hobby of costuming. Yet, it can be easy to get caught up in trying to replicate a character's look as accurately as possible. In many cases, it is IMPOSSIBLE. Yet, that can be a hard thing to accept. My body does not look like most of the characters I want to dress up as. And this becomes discouraging at best and depressing at worst. 

Overcoming the desire for accuracy in the face of impossibility is important for moving forward. But getting close is possible. Here I will go over how you can achieve "the look".

Method 1 - Find Common Features

I did have a lot of similar features.

The easiest method is choosing a character that shares many of your features! This will save you a lot of headache throughout the process and can save you money. Characters to choose from are diverse in body shape, hair style, height, body colors and so on. Choosing a character with a similar or possible hair style saves you from needing a wig. A character with a similar body type, gives you a better idea of how the outfit will look on your figure. 

In some cases though, you may find the pool of characters to choose from is very limited or unappealing. Since you do not need to limit yourself to characters that look like you...

Method 2 - Shaping Undergarments

Large shoulder pads under there.

The range of shaping undergarments has expanded over time. Some smooth things out and hold things in place. You could also go bigger with fake muscle suits, fake body parts, bustles, fat suits, and so on. 

This will add a layer to your cosplay and must be worn under clothes to have the best effect. 

Although a word of caution. The extra layer of material can cause overheating. And binding down different areas of your body can affect blood circulation and normal breathing. And generally, they're uncomfortable when worn for long periods of time. 

Method 3 - Tailoring/Styling

Tailoring and Styling use shapes, seams, and cuts to make an outfit look good on you! Tailoring is a bit more about getting the outfit to fit right. Styling is more about an overall look. You need both to make sure the costume looks great on you and you're achieving a body shape.  

I considered belt placement.

For example, where you wear a belt can affect how long your legs and torso look. A high belt shrinks your torso height but increases your leg length. (Not actually, just tricking brains.)  The thickness and color of the belt will also affect this. As you can see, there are multiple variables to consider.

Line patterns or the placement of geometric shapes can cause optical illusions as well. Some will make your shoulders look broader than your hips or your legs look longer. The Golden Mean or Golden Ratio tends to be the end goal of fashion, but not so for a costume. If you are looking to play with your proportions, it's a good idea to at least learn the Golden Mean/Ratio rules for you. Then you can play. 

There are so many aspects and variables associated with tailoring and styling that it will take more time to break it down. I'll likely make some introductory posts about tailoring but for now, check out some of these YouTube videos.


Method 4 - Lifestyle changes 

The final method would be the one that is arguably the most challenging and will take a long time. Setting goals for a costume can definitely be a method of motivation to living a healthier for you lifestyle. Or at least make temporary changes like a bride for her wedding day. (Or groom...it goes both ways.) 
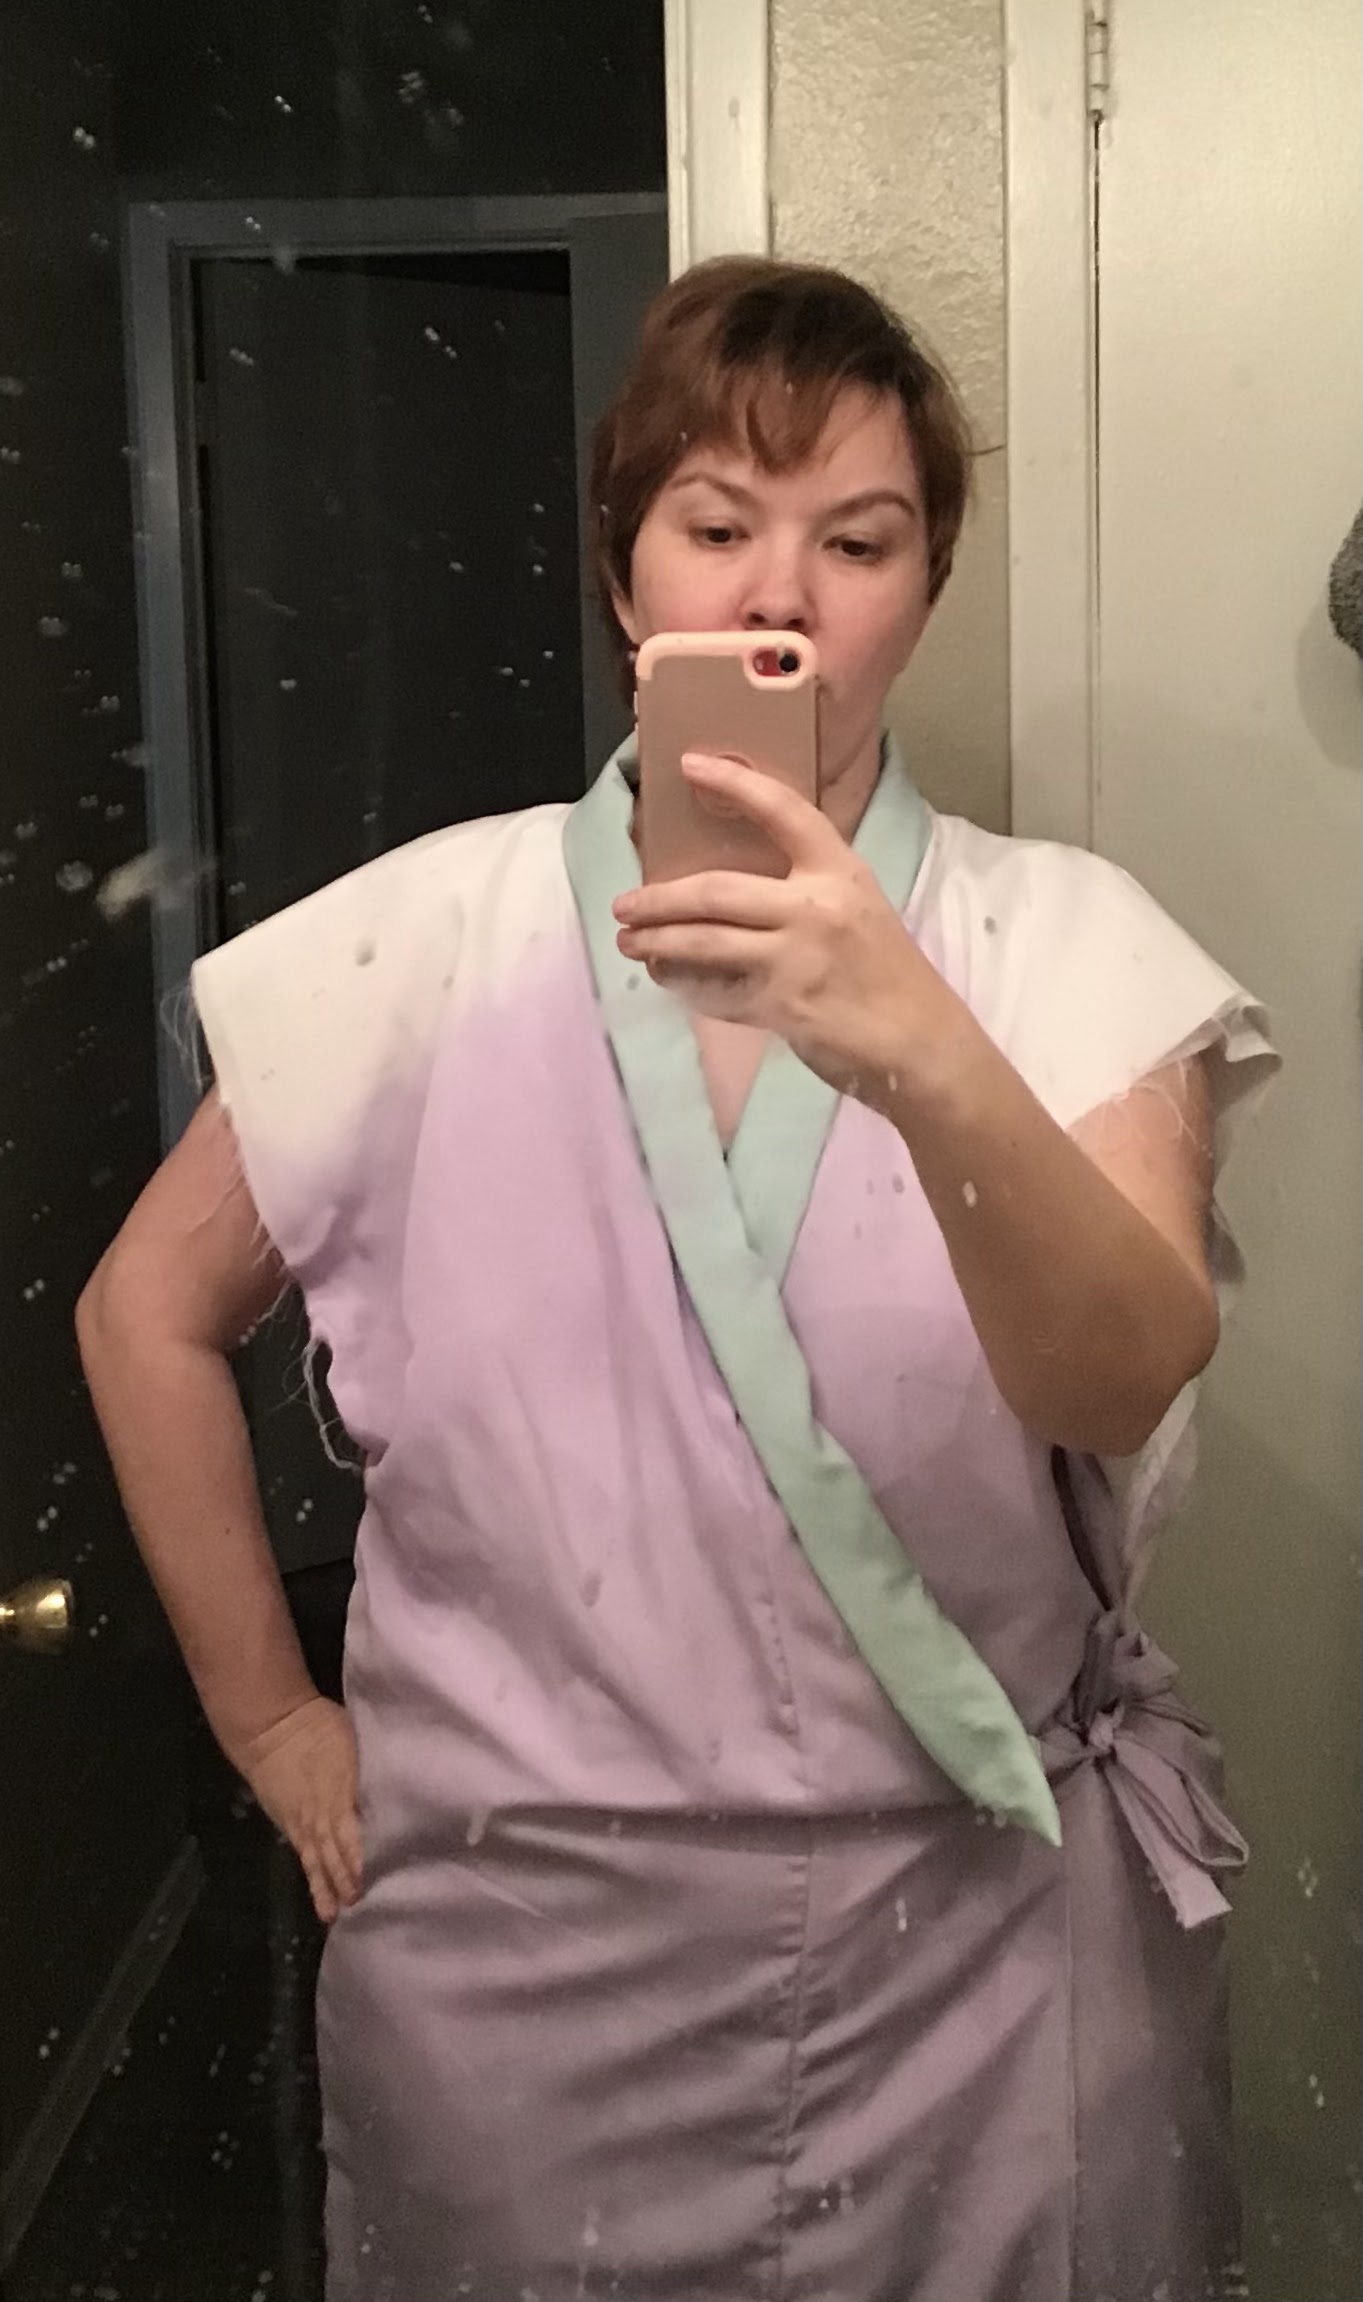
When your hips dictate the total width.

Unfortunately, despite all my years of experience trying different types of programs for weight gain and loss, I have not found a magic method that works for me effectively. Except working with a medical nutritionist and spending MONTHS to lose 10 lbs. Which is depressing because I used to have a very fast metabolism and couldn't gain weight for years! Anyway, enough excuses and whining from me. 

If you are going to try to get into some kind of shape through nutrition and exercise, consult with a medical professional. And get some kind of emotional and general support group. Accountability generally helps. Don't be like me and fall for all the slick advertising by different programs and fad diets and apps. (Some of the general apps are fine for things like tracking steps, calories and such.) 

Conclusion

Without surgical intervention, it is likely none of us will achieve that cartoon figure. (Not really advising cosmetic surgical intervention. This is a BUDGET costume blog after all.) But you can improve your self-esteem by dressing right, finding flattering costume styles, and just doing things that boost your confidence. Coming at things with a confident or positive attitude can make all the difference. 

Remember, design is all about creative problem solving. 😉

Comments

Popular posts from this blog

Kimono Series: Measure & Cutting the Kimono

This is the primary benefit to making your own kimono, having it tailored to you! In this post, I will go over the following:  Body Measurements you need Names of the Panels and their dimensions Calculating Fabric needs Tailoring points And a few tips and resources With measurements there are major and minor measurements. Focus on the major measurements for calculating fabric amount and the size and shape of the panel pieces. The minor measurements are mostly for construction so you put the pieces together correctly and they fall in the right place for your body. Lets start with the measurements you need to take on the body.  Body Measurements There are only 3 body measurements for kimono, although they will differ slightly between a masculine and feminine kimono. You need:  Yuki  - a measurement taken from the spine at the base of the neck to the shoulder joint, then to the wrist while holding the arm at a 45° angle. (You CAN T-Pose it but it is a little less accura...

Hakama Series - Side Opening Covers/Pockets

The side openings on hakama can feel a bit exposing if you're not wearing a full kimono underneath or perhaps you just can't stand to be without pockets! While these things are not necessarily historically accurate for the area, you can make it work.  Modesty Panels These will be panels of fabric that hang from your waist at your sides where the openings of the hakama are. You can choose to attach these to the belts (himo) of your hakama or to make your own waistband.  You can use any kind of cloth but the idea is to use any left over clothe from making your hakama. But if you want different colors or prints go for it.  You will cut a rectangle with rounded corners that is 16" tall and about an inch wider than your side openings (sasahida). To keep it from fraying, either use a serger or overlock machine to finish the edges except at the top. Alternatively, use a zig-zag stitch on your regular sewing machine all around the edges except the top..  Make a waistband fro...

Becoming a Kitsune: Tail Design Considerations

The key element of a kitsune character is the tail (or tails in most cases). You'll need to determine what you want the tail to look like so you can determine the best method of attachment. The primary consideration for attachment is weight . The things that affect weight are size and materials. So let's get into it! Tail Shapes These are the common shape profiles I see for making kitsune-style tails whether it's a fur tail or crystal or unnatural.  A: Tube Sock - a uniform girth and rounded end. Close to reality.  B: Pointed Tube - a uniform girth that tapers at the tip.  C: Squirrel Style - wider in the middle rounded tip. Very much like an oval shape.  D: Pointed Barrel/Paintbrush  - the tail gets wider in the middle and tapers at the tip and at the top.  Tail Poses Another aspect of tail shape is how you want it to pose or hold in place.  Limp - a relaxed tail that hangs down loosely. It doesn't hold any pose.  C Curve - the tail is arche...